How to set the size of two-dimensional code
Friends who have used barcode label printing software must know that when drawing two-dimensional code, we are directly generated by dragging and dragging the mouse on the label. The size of two-dimensional code made in this way is not very easy to master. Although the software is a ruler and other auxiliary tools, it is difficult to achieve the exact size. For example, we want to make a 2cm*2cm two-dimensional code, how to operate it? The following Xiaobian will give you a detailed introduction to the specific operation method.
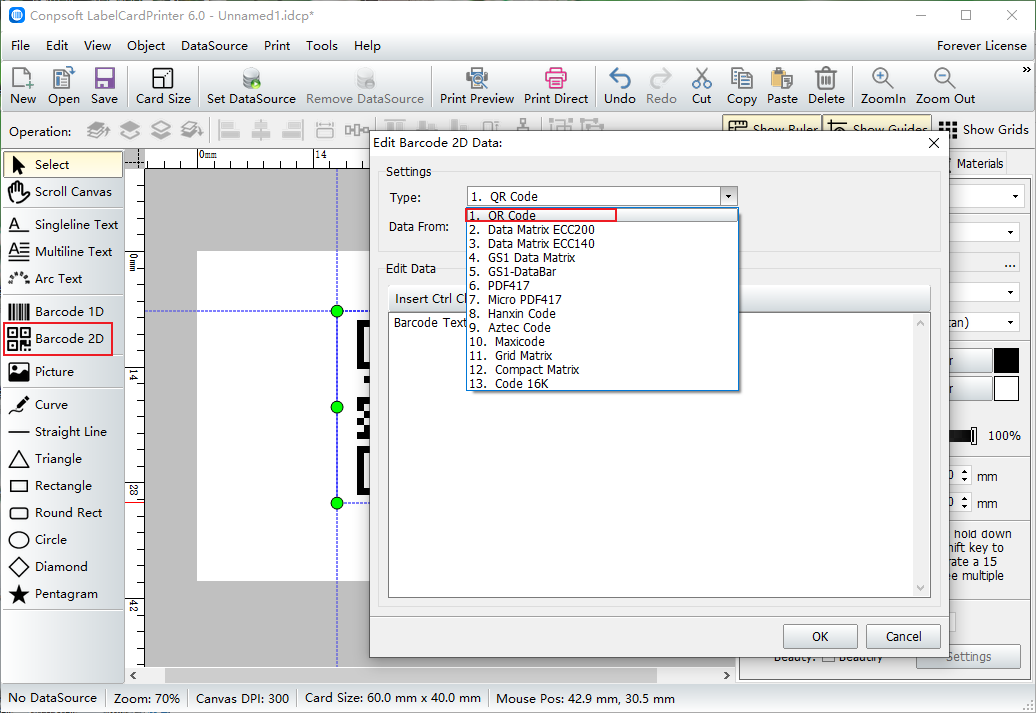
First open the software, create a new file and set the size of the file, use the QR code tool to drag out a QR code on the label. Select the type of QR code in the pop-up edit interface.
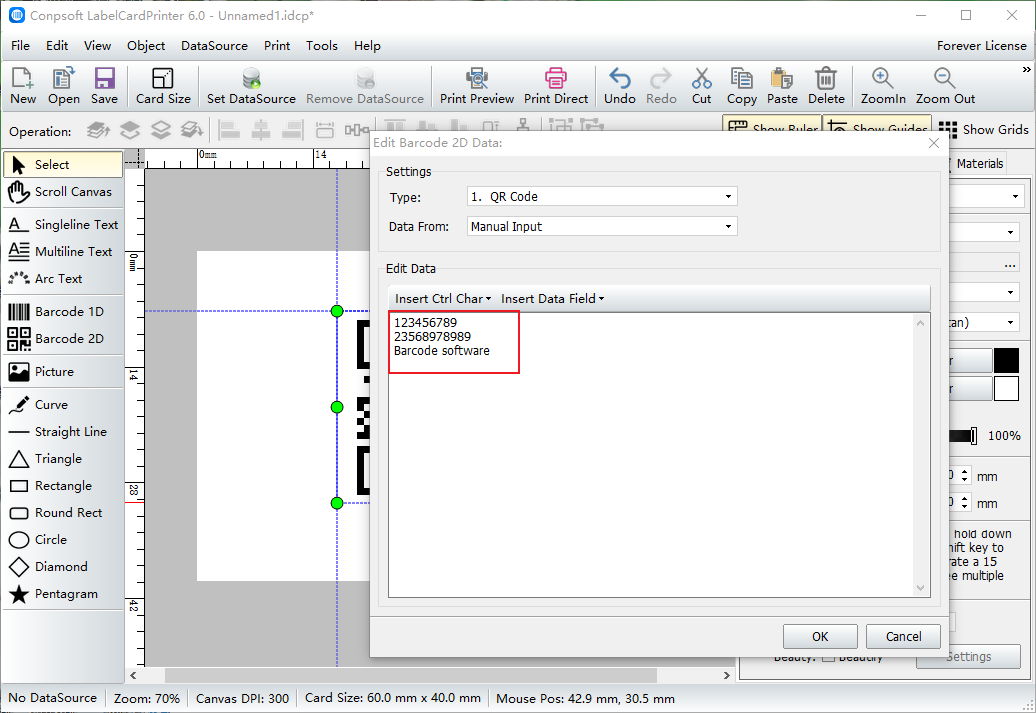
Enter the data of the QR code in the edit data, which can be words, numbers, web addresses and so on. If it is text information, it needs a larger size, because when the two-dimensional code is generated, the more characters, the more dense the two-dimensional code square, the more dense the need to print larger will not affect the scanning effect.
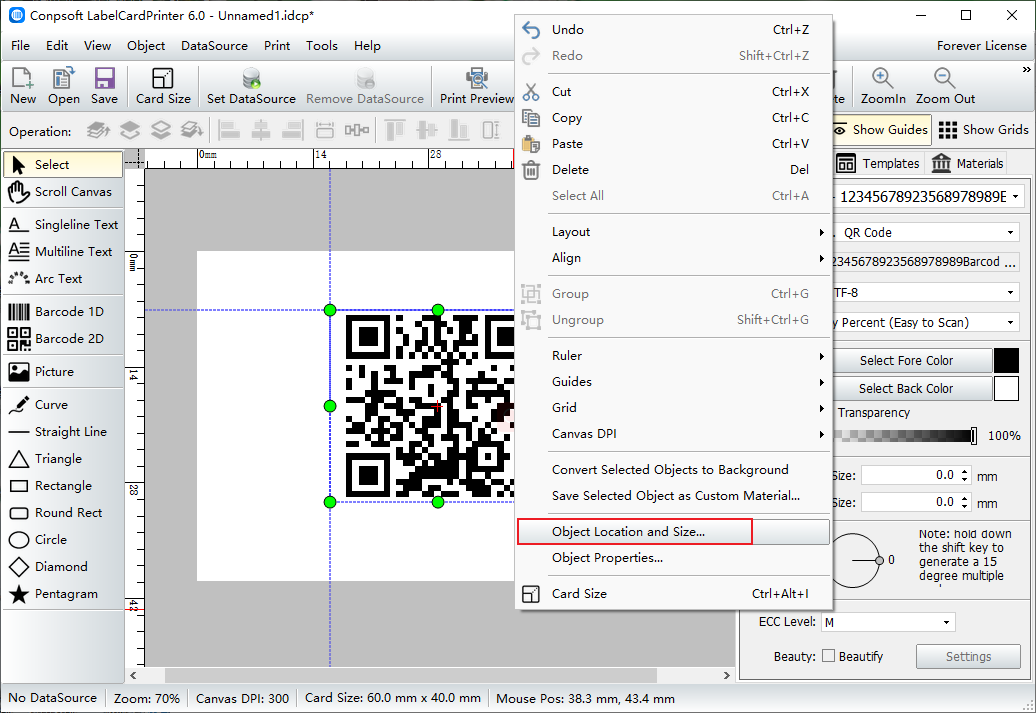
After the two-dimensional code is generated, click the right mouse button on the two-dimensional code and select the object location and size. The diagram below:
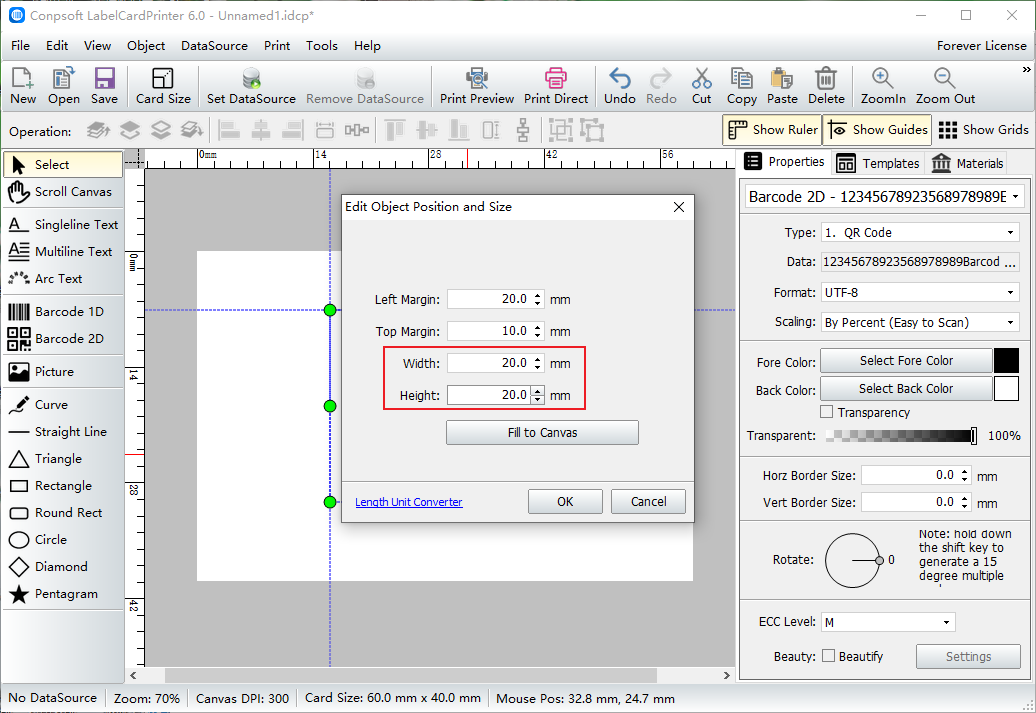
Enter 20 for both width and height. You can also set the left margin and top margin.
The above is the method of setting the size of the two-dimensional code in the barcode label software. This method can accurately set the size of the two-dimensional code, and you can directly input the value. Two-dimensional code according to the type of different, there are also some standard size, in the end when the use of how large to make, the specific situation needs to be specific analysis.